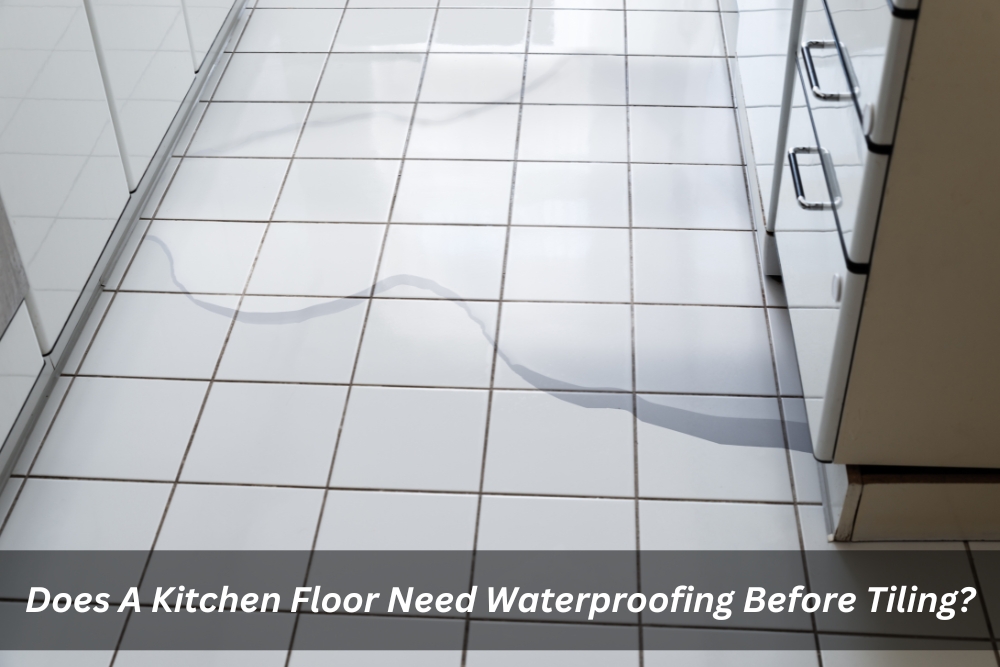
Does A Kitchen Floor Need Waterproofing Before Tiling?
Imagine this: You’ve invested in beautiful new tiles for your kitchen floor, only to see them buckle and warp a few months later. The culprit? Water damage hiding beneath the surface. It’s a nightmare scenario, but one easily avoided with proper waterproofing kitchen floor before tiling. Buckle up, DIY enthusiasts and tiling pros alike, because we’re diving deep into the world of waterproofed kitchen floors.
Is waterproofing necessary for the kitchen floor before tiling?
Kitchens are war zones for spills and splashes. Sinks overflow, dishwashers leak, and even the most careful chef has an oopsie moment. While grout and tile have some water resistance, they’re not shields against constant moisture exposure. This is where waterproofing the kitchen floor comes in, creating a protective barrier that prevents water from seeping into the subfloor and wreaking havoc. Here are some red flags:
- High-risk zones: Areas around sinks, dishwashers, and cooktops are prime targets for spills.
- Open floor plans: If your kitchen seamlessly blends into other living areas, waterproofing becomes crucial to protect the entire space.
- Frequent water exposure: Regularly using a pressure washer or having a pet water bowl on the floor warrants extra protection.
- Existing moisture issues: Cracks, stains, or warped wood point to potential water damage – address these before tiling and waterproofing religiously!
How do you know if your kitchen floor needs waterproofing?
Not all kitchens scream “water threat.” Before wielding the waterproofing brush, consider these factors:
- Floor material: Concrete subfloors are more prone to water damage than ceramic or vinyl tiles.
- Climate: Humid regions generally demand more vigilance than arid ones.
- Your lifestyle: Are you a culinary artist with epic cooking sprees, or a minimalist chef who rarely touches the sink?
By weighing these factors, you’ll gain a clearer picture of your kitchen’s vulnerability and whether waterproofing the kitchen floor becomes a must-do.
What are the different methods for waterproofing your kitchen floor?
Now, onto the fun part – choosing your weapon! Several waterproofing kitchen floor methods exist, each with its strengths and quirks:
- Liquid membranes: Brush-on or roll-on solutions create a seamless, flexible barrier. Great for DIYers with good ventilation.
- Sheet membranes: Pre-fabricated sheets bonded to the subfloor. It offers superior leak protection but requires professional installation.
- Paint-on sealers: Penetrating solutions for porous surfaces like concrete. Affordable but requires multiple coats and may alter the floor’s appearance.
Remember, the best method depends on your skill level, project scope, and budget. Do your research and choose wisely!
When is the best time to waterproof your kitchen floor before tiling?
Imagine waterproofing after laying those gorgeous tiles – not a pretty picture. Here’s when to integrate waterproofing kitchen floor into your project:
- New construction or major renovations: The perfect opportunity for a seamless, integrated approach.
- Before replacing the existing flooring: Remove the old tiles and waterproof the exposed subfloor.
- Addressing specific moisture issues: Target the affected area before proceeding with new tiles.
Remember, timing is crucial for a watertight (pun intended) result.
What’s the cost of waterproofing your kitchen floor?
Waterproofing the kitchen floor might seem like an added expense, but it’s an investment in long-term savings. Consider these factors:
- Material costs: Liquid membranes are generally more affordable than sheet membranes or professional installation.
- DIY vs. professional: Hiring a pro comes at a premium but ensures expertise and warranty.
- Potential damage costs: Water damage repairs can be hefty, making waterproofing a cost-effective preventative measure.
Weigh the options and choose a solution that fits your budget and protects your precious kitchen.
How to waterproof your kitchen floor before tiling (if you choose DIY)
Feeling adventurous? Waterproofing the kitchen floor as a DIY project is possible, but proceed with caution:
- Preparation is key: Clean the subfloor thoroughly and ensure proper ventilation.
- Follow instructions religiously: Each product has specific application guidelines. Don’t wing it!
- Practice on a test area: Get comfortable with the application process before tackling the entire floor.
- Safety first: Wear protective gear and use appropriate ventilation equipment.
If you’re unsure, or your project is complex, don’t hesitate to call in the professionals.
What additional tips do you need for a successful waterproofing project?
While waterproofing your kitchen floor is a crucial first step, it’s not the finish line. Here are some additional tips to ensure your kitchen becomes a watertight haven for years to come:
- Shield your seams: Choose high-quality grout and sealant specifically designed for wet areas. These products resist water penetration and stains, forming a stronger barrier against moisture.
- Embrace the breeze: Proper ventilation is key. Regularly run your exhaust fan and open windows, especially after cooking or cleaning, to prevent moisture buildup and promote drying.
- Spills? No problem: Don’t let spills become a breeding ground for trouble. Wipe them up promptly to minimise their impact on your floor and prevent potential staining or damage.
- Be proactive, not reactive: Leaky faucets or appliances are ticking time bombs for water damage. Don’t wait until they cause major issues – address them promptly to nip problems in the bud.
- Keep an eye out: Schedule regular inspections of your floor, grout, and sealant for any signs of wear and tear, cracks, loose grout, or moisture damage. Early detection and repair are key to maintaining a watertight seal.
- Remember, prevention is king: By following these tips alongside proper waterproofing, you’ll create a beautiful and resilient kitchen that can handle the inevitable spills and splashes with ease. After all, a watertight kitchen is a happy kitchen, free from the worries of water damage and costly repairs.
Bonus tip: Consider placing mats or rugs in high-traffic areas near sinks and dishwashers to further absorb spills and protect your floor.
By incorporating these additional measures, you’ll transform your kitchen into a truly watertight oasis, ensuring a space that’s both beautiful and functional for years to come.
Peace of mind on every tile
Investing in waterproofing your kitchen floor is an investment in peace of mind. It protects your valuable tiles, subfloor, and even your wallet from the costly consequences of water damage. Whether you choose a DIY or professional application, remember the importance of choosing the right method, following best practices, and maintaining your waterproofed floor for long-lasting protection.
If you’re in the Sydney area and seeking professional expertise, look no further than Sydney Waterproofing Services. Our team of experienced technicians boasts:
- Years of experience in residential and commercial waterproofing
- Specialising in expert waterproofing services, ensuring a watertight kitchen from start to finish.
- High-quality, waterproof materials that meet Australian standards
- Competitive pricing and transparent quotes
Ready to transform your kitchen into a spill-proof paradise? Contact us today for a free consultation and quote. We’ll guide you through the process, ensuring your kitchen floor is protected for years to come.
