

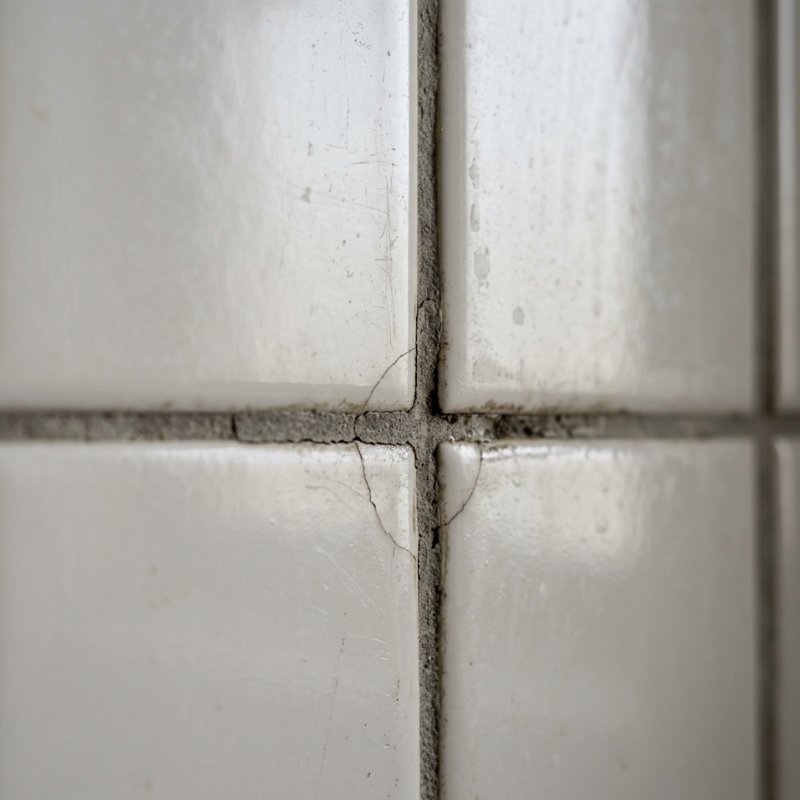
A few hairline cracks in the shower grout can look harmless, yet they may be the first sign of a bigger waterproofing problem. Resealing costs time and money, so it pays to confirm whether the issue is only surface-level or if water is already sneaking past the waterproofing layer underneath. The quick checks below will help you decide whether a straightforward re-grout is likely to work, or if you should pause and get specialist waterproofing advice before the tiles go back on.
Why a Fast but Accurate Diagnosis Matters
A leaking shower rarely floods the bathroom overnight. Most failures start with fine grout cracks, pinholes, or movement in a single tile. When these early warnings are missed, water keeps tracking behind the tiles until timber studs swell, mould takes hold, and the shower recess needs a full strip-out. In Sydney’s humid coastal climate, that progression can happen sooner than many homeowners realise. Catching problems early:
- Reduces the repair area to a few square metres instead of an entire bathroom wall
- Saves thousands on rectification work, especially where cabinetry, mirrors, or screens need removal
- Preserves the builder’s or strata warranty, as ongoing moisture often voids coverage
- Cuts downtime – handy if it’s the only functional shower in the home
Cosmetic Cracks vs Structural Movement: Telling the Difference
Small surface flaws do not always equal membrane failure. The table later in this article summarises the key signs, but first, understand the two broad categories:
- Cosmetic grout or caulk deterioration
– Occurs from routine wear, harsh cleaners, or minor shrinkage
– Typically stays localised to joints and surface finishes
– Tiles remain firmly bonded, and surrounding grout lines are solid - Structural or substrate movement
– Usually driven by building settlement, moisture-swollen substrate, or flexing floor joists
– Creates diagonal or continuous cracks that run through multiple tiles
– May coincide with loose tiles, hollow sounds, or a musty odour
If you see movement-related clues, assume the membrane might already be compromised and plan deeper checks.
Quick At-Home Grout Integrity Tests
Before grabbing the caulking gun, run through these five low-tech assessments. Each one takes under five minutes.
- Fingernail scratch test
– Lightly scratch across the cracked grout. If the surface powders easily, the binder has broken down from moisture or cleaning chemicals. - Tapping for hollow sounds
– Tap tiles around the crack with a knuckle or wooden dowel. A sharp, solid “click” is normal; a dull sound suggests the tile has lifted, allowing water to reach the adhesive bed. - Torch and mirror inspection
– Shine a bright LED torch along the joint line while holding a small mirror at an angle. Gaps or dark recesses often hide where grout has fallen away. - Paper towel blotting
– After a normal shower, blot the cracked area with tissue. Persistent moisture after an hour can indicate water wicking behind the grout, not just surface dampness. - Colour-change moisture dots
– Stick a small moisture indicator dot (available at hardware stores) adjacent to the crack, then run the shower. If it changes colour, moisture is escaping the joint.
Minor flaws that pass these checks are usually safe for a re-grout or silicone detail. Fail several tests, and membrane investigation is next.
Clues That Point to a Deeper Membrane Failure
A waterproofing membrane sits behind the tiles, so damage is invisible until symptoms migrate to the front. Watch for:
- Recurring grout cracks in the same spot – Means the substrate is still moving or swelling.
- Efflorescence (white powder) on grout lines – Indicates mineral-laden water is leaching through from behind.
- Musty smell even when the shower is dry – A classic stagnant water sign.
- Swollen skirting boards or door jambs outside the shower – Water has travelled beyond the wet area.
- Peeling paint on the wall adjoining the recess – Vapour escaping via wall cavities.
Any two of these together usually signal a breached membrane rather than a cosmetic surface issue.
Simple Moisture Testing Without Removing Tiles
If you suspect deeper trouble but want proof before pulling up tiles, try these non-destructive techniques:
Moisture meter scanning
Handheld pinless moisture meters cost around $100 and read up to 40 mm deep. Run the pad in a grid over suspect areas. Readings above 15-18 % MC (moisture content) in a bathroom wall panel often justify professional leak detection.
Infrared (thermal) snapshot
A basic thermal camera attachment for a smartphone can show cold spots where water evaporates behind tile. Contrast the suspected zone with a known dry section for reference.
Dye test at the waste
Add a few drops of food-safe tracer dye into the shower waste, fill the trap, and block the outlet briefly. If coloured water appears at adjacent grout cracks, the sealing system is already bypassed.
24-hour taped plastic test
Tape clear plastic over the area, seal all edges, and leave for a day. Condensation on the underside suggests ongoing moisture migration.
If any DIY test indicates moisture behind tiles, enlist leak detection or a qualified waterproofer to confirm before resealing.
When to Call in Professional Leak Detection
Thermal imaging, pressure testing, and borescope inspection can trace the leak path without tearing out the wall. NSW Fair Trading recommends using licensed waterproofers or plumbers with specialist equipment because inappropriate testing can void warranties or create new entry points. Their official waterproofing guidance outlines licence obligations and dispute-resolution steps, helpful if you are mid-renovation or in a strata complex.
Professional help is also wise when:
- Moisture spreads to a neighbour’s apartment – liability escalates quickly.
- You are unsure which tradesperson (builder, tiler, waterproofer) is responsible.
- The bathroom is under the builder’s warranty, and formal reporting is needed.
- The shower base is pre-manufactured (acrylic or fibreglass) – hidden cracks can be tricky to spot.
Common Mistakes to Avoid Before Resealing
Many Sydney homeowners and handymen rush into sealing work because cracked grout looks like an easy weekend fix. Steer clear of these traps:
- Sealing over damp grout – Moisture becomes trapped, mould blooms faster, and silicone lifts within months.
- Mixing incompatible products – Some sealants will not bond to solvent-based membranes used in older bathrooms.
- Ignoring movement joints – Rigid grout across corners cracks again as soon as walls flex.
- Skipping membrane patch repairs – Surface patching does nothing if water still penetrates behind tiles.
- Assuming every leak is grout-related – Drain flashing, pipe penetrations, or the hob can also be culprits.
For a step-by-step resealing process once you have ruled out deeper issues, see our detailed guide on how to reseal a shower effectively.
Symptom-to-Action Snapshot
The table below summarises the typical observations, what they can mean, and your safest next step.
| Situation | Likely Cause | Quick Check | Suggested Action |
| Isolated hairline grout crack | Surface wear or minor shrinkage | Grout feels firm, no hollow sound | Clean, dry, and spot-regrout or seal |
| Multiple cracks forming a pattern | Substrate movement, early membrane stress | Hollow tap sound across several tiles | Investigate for moisture, consider partial membrane repair |
| Efflorescence around lower tiles | Persistent water behind grout | White salts return after cleaning | Moisture testing and membrane inspection |
| Musty odour after shower dries | Trapped water behind wall lining | Moisture meter reads >18 % MC | Professional leak detection recommended |
| Damp skirting outside bathroom | Water spreading beyond wet zone | Paint blistering or timber swelling | Stop using shower, arrange licensed repair |
Always retest the area 24 hours after repairs to confirm moisture readings return to safe levels.
FAQ
1. How long should a correctly installed shower membrane last?
A quality membrane applied to Australian Standard AS 3740 can protect a shower for 15–20 years, provided movement joints are respected and the bathroom is well ventilated. Premature failure usually traces back to substrate flex, incorrect product pairing, or poor detailing around penetrations.
2. Can clear penetrating sealer fix leaking grout lines?
Clear sealers only slow water absorption; they do not bridge cracks wider than a hairline or stop water already tracking behind tiles. Use them as preventive maintenance on sound grout, not as a cure for an active leak.
3. Is re-grouting a DIY-friendly task?
Removing loose grout and repacking joints is achievable for experienced DIYers who follow product instructions and allow proper curing time. However, diagnosing membrane integrity and re-waterproofing corners are best left to licensed waterproofers.
4. Does insurance cover shower waterproofing failures?
Home insurance usually excludes gradual water damage from wear or poor workmanship. Coverage may apply after a sudden burst pipe, but most policies expect timely maintenance. Check your product disclosure statement or call your insurer.
5. How soon can I use the shower after resealing?
Most silicone and grout manufacturers recommend keeping the area dry for 24–48 hours. Cooler Sydney winter temperatures may extend curing time, so always confirm with the product datasheet.
Final Thoughts
A cracked grout line may tempt you to reach straight for a tube of silicone, yet a quick set of moisture and movement checks can reveal whether the waterproofing membrane underneath is doing its job. By separating cosmetic fixes from structural leaks early, you avoid the frustration of repeating repairs and keep hidden water damage out of your bathroom walls. If the signs point to a deeper issue or you simply want peace of mind, licensed waterproofers have diagnostic tools that can confirm the membrane’s health without pulling up every tile. Either way, invest a little time in testing now to save a lot of time and cost later.