
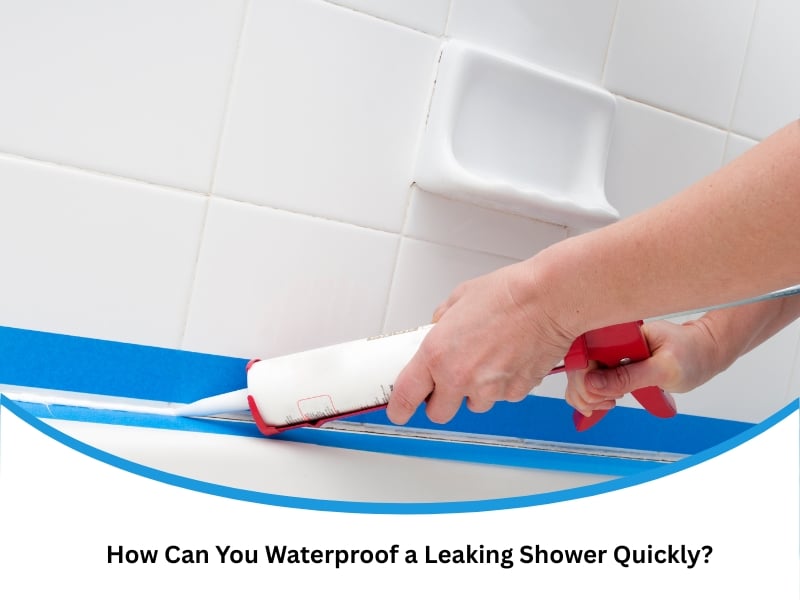
Noticing water escaping from your shower? Even a tiny leak can lead to damp damage, mould, or warped timbers. Often, the real culprit is a waterproof leaking shower that’s been overlooked. Sealants shrink, tiles shift, and over time, cracks widen just enough to allow moisture to escape. If you ignore these small signs, you risk turning a minor job into a full-blown reno. Fortunately, you don’t need to rip up your bathroom straight away. This article walks through fast, practical ways to seal shower gaps, highlights key materials and tools, and helps you decide when it’s time to reseal or call in the pros.
What causes gaps in a waterproof leaking shower to appear?
Showers don’t start leaking overnight. Gaps form gradually, typically due to movement, wear, or poor preparation.
- Tile movement over time: Daily use and floor settling can cause tiles to shift slightly, potentially loosening the sealant, especially around corners or where walls meet floors.
- Ageing silicone: Older seals dry out and shrink, leaving hairline cracks where water sneaks through unnoticed until damage begins.
- Poor installation: If the original waterproofing skipped primer or used low-grade silicone, gaps form sooner and more frequently.
- Temperature fluctuations: Heat from showers expands surfaces; as things cool, materials contract, loosening seals with every cycle.
- Grout erosion: Excessive scrubbing or acidic cleaners slowly wear grout, opening new leak paths even if the sealant appears intact.
- Surface movement: Flexible joints between walls and floors move subtly, stressing seals at the weakest points.
Identifying these triggers early means you can react before real damage kicks in. Prevention is easier than repair.
How can experts detect hidden gaps in a waterproof leaking shower?
Experienced tradies know where to look. Even invisible leaks can be tracked using reliable tools and techniques.
- Moisture metres: These handheld devices detect hidden dampness behind walls or under tiles, allowing early identification of trouble spots.
- Coloured dye testing: Applying dye in the tray can reveal where leaks escape through joints or cracks, even if they appear sealed.
- Infrared imaging: Heat-sensing cameras detect cooler wet areas beneath the surface, helping avoid unnecessary tile removal.
- Endoscopic scopes: Small cameras let pros inspect inside walls or under trays without significant damage or disassembly.
- Tap testing: Gentle taps reveal hollow spots behind tiles that may indicate water entry points or delaminated adhesive.
- Preventive scanning: Experts often combine thermal imaging with maintenance practices to prevent long-term water damage, ensuring your shower stays leak-free over time.
These methods help locate leaks before they worsen. Accurate diagnosis means better long-term fixes.
How do sealing tools support long-term waterproofing of leaking showers?
The right tools don’t just speed up sealing—they improve the quality of the job.
- Heat guns: These soften old silicone, making it easier to scrape out cleanly before resealing and reducing the risk of damaging tiles.
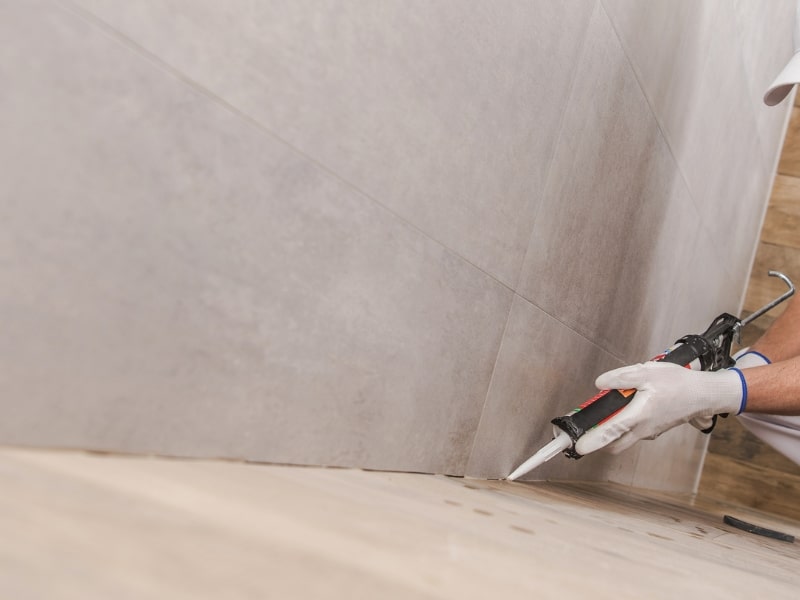
- Silicone finishing tools: Shaping tools create consistent beads that dry with strong, even coverage for maximum adhesion.
- Waterproof tapes: Temporary silicone-backed tapes provide emergency seals for small, active leaks—ideal until a full reseal can be done.
- Acid cleaners: Prepping with acid wash removes soap residue and mould, ensuring better sealant adhesion to prevent early failure.
- Masking tape guides: Taping edges gives a tidy line and prevents excess spread, allowing even beginners to seal neatly.
- High-precision nozzles: Let you apply just the right amount of sealant to tight corners and hard-to-reach areas.
Tool | Function | Benefit |
Heat gun | Softens old sealant | Easier removal, no leftover bits |
Finishing tool | Smooths sealant | Creates an airtight, even bond |
Waterproof tape | Temporary seal | Stops immediate leak, buys time |
Acid wash | Preps surfaces | Improves sealant grip and longevity |
Masking tape | Guides the bead line | Sharp finish, no over-smearing |
Whether you’re patching up or sealing from scratch, it helps to discover efficient fixes for waterproof leaking shower problems by using the right gear to get professional-level outcomes. Tools make all the difference—neat application equals long-term results.
When should you reseal a leaking shower instead of replacing tiles?
Not all leaks need major work. Resealing is fast, affordable, and often the more brilliant move.
- Minor gaps in sealant: If the tiles are still firm and crack-free, reseal the joints and strengthen weak points before they become leaks.
- Discoloured silicone only: Stains and mould don’t mean you need new tiles—fresh silicone often solves it, especially with mould-resistant types.
- No bubbling or lifting tiles: If the surface is solid, a reseal provides watertight protection without renovation or heavy labour.
- Post-repair reinforcement: After replacing one tile, reseal surrounding joints to protect the patch and extend waterproof coverage.
- Budget constraints: Resealing costs far less and takes less time than retiling an entire shower while delivering immediate leak control.
- Routine maintenance: Every 3–5 years, resealing prevents small cracks from spreading into costly repairs.
Understanding how to reseal a leaking shower effectively helps you avoid unnecessary costs while resolving the issue. Sometimes resealing is all it takes.
Why are silicone and epoxy popular for sealing leaking shower joints?
Sealant choice matters. Each option suits different shower zones and traffic levels.
- 100% silicone: Highly flexible, stays watertight through expansion and contraction cycles—ideal for vertical joints and corners.
- Mildew-resistant formulas: These resist staining and mould in humid shower corners, keeping your bathroom looking clean longer.
- Two-part epoxy: Dries rock-hard, ideal for floors that see heavy foot traffic, preventing grout erosion under daily wear.
- UV-stable variants: Perfect for bathrooms with natural light—prevents discolouration and brittleness.
- Non-sag options: Ideal for vertical joints to prevent sealant slumping or drooping while drying.
- Fast-curing epoxy: Suitable for busy households where downtime must be minimal and waterproofing needs to reset quickly.
If you’re choosing sealants for durability, the best waterproofing methods for tiled showers include using both products—epoxy on floors and silicone on vertical surfaces. Use each material where it is most effective.
Is professional shower sealing more effective than DIY repairs?
Not every repair requires a professional, but some fixes benefit from expert assistance.
- Better prep: Pros acid-clean surfaces, remove all old sealant, and prime areas for strong adhesion without cutting corners.
- Commercial-grade sealants: Trade-only products outperform what’s sold in hardware shops, offering better flexibility and longer lifespan.
- Seamless finish: Skilled hands apply smooth, even beads that last longer and look neater, even in awkward corners.
- Backed warranties: Many experts guarantee their work, giving peace of mind with service follow-ups if needed.
- Full inspection: Pros often spot early signs of damage you might miss, like soft spots or unseen cracks under tiles.
- Time-saving: What could take a homeowner six hours might take a professional under two, with cleaner results.
Professionals bring consistent quality and long-term value. Still, if you’re confident and dealing with a minor issue, a DIY fix can be a budget-friendly solution.
Final thoughts
Shower leaks might seem sneaky, but there’s almost always a solution. A little knowledge goes a long way. Most of the time, a reseal is enough to do the trick. At other times, professional advice prevents costly damage down the road. Routine checks, the use of smart sealants, and the right tools provide strong protection against future leaks. Regular attention keeps showers clean, dry, and long-lasting. Still, the best defence is knowing what to do early—and doing it right. If you’re unsure whether it’s time to reseal or replace, explore what Sydney Waterproofing Services can do for your home—a helpful walkthrough that can guide your next move confidently.